DIY Ice Bath: Affordable Cold Plunge At Home
*We may earn a commission for purchases made using our links. Please see our disclosure to learn more.
DIY Ice Baths:Affordable Cold Plunge At Home
Welcome to the world of a DIY ice bath, a cost-effective approach to wellness and recovery. In this comprehensive guide, I’ll share my personal journey and expertise in setting up an ice bath at home that rivals expensive commercial setups. We’ll explore how to create an ice bath that suits your needs and budget, ensuring you enjoy its health benefits without overspending.
DIY Ice Baths: Affordable Cold Plunge At Home
In this section, we will explore different at-home cold plunge approaches and how to build your own DIY ice bath. We’ll also discuss the benefits of incorporating ice baths into your health and wellness routine.
Building your own cold plunge
Moving from the idea of at-home cold plunges, let’s dive into how you can build your own. Creating a DIY ice bath can be simple and fit any budget.
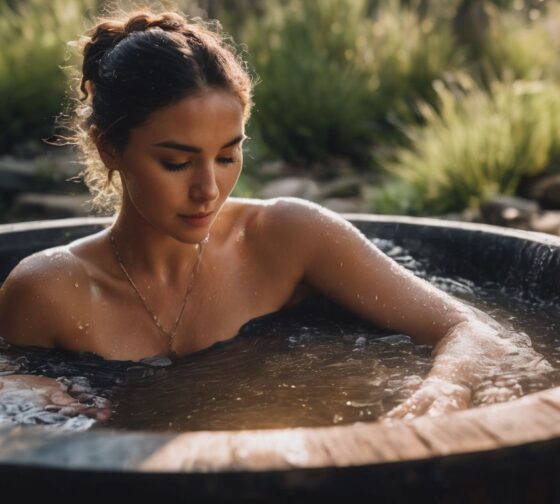
- Pick a container that will work for you. Inflatable pools are great because they’re not expensive and come in many sizes.
- Make sure your chosen tub is sturdy enough to hold water and ice without leaking or breaking.
- Add insulation around the pool if possible. This keeps the water colder for longer.
- Get lots of high – quality ice cubes to chill the water quickly. You can buy ice or make it at home.
- Fill your tub with cold water from a hose or buckets, then put in the ice until it reaches 50°F – 60°F, just right for beginners.
- Keep your ice bath clean with regular cleaning and by using products that kill germs.
- Think about using a water chiller if you want to keep the bath cold over several uses without adding more ice.
- When winter comes, protect your setup from freezing and damage if it’s kept outside.
- If you want to do more, think about adding steps or seats inside the pool for comfort.
Benefits of DIY ice baths
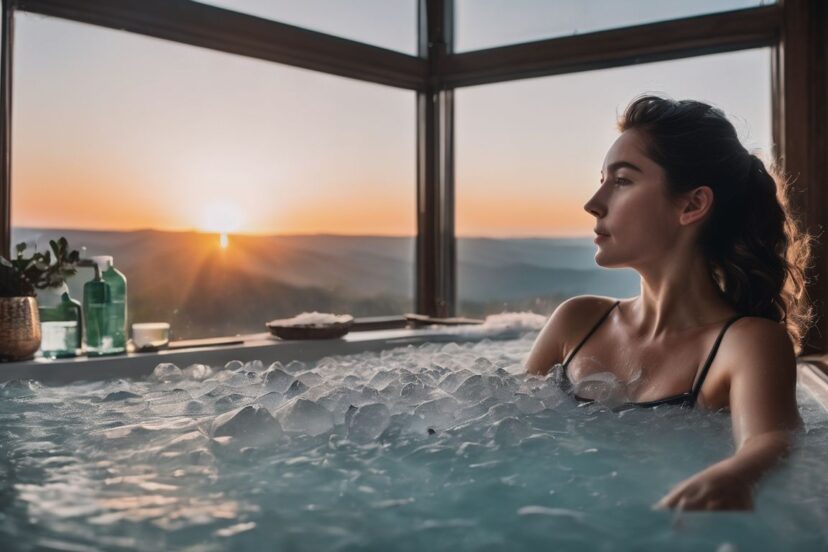
Once you have assembled your home cold plunge, it’s time to enjoy the many health perks. Ice baths are great because they can help your muscles recover after working out. They may reduce soreness and swelling.
This is why many athletes love using ice baths. Taking a dip in cool water can also be refreshing and boost your mood.
Doing this at home means you can take an ice bath whenever you want. You don’t need to pay each time or go somewhere else to do it. Plus, if you use tools like a water chiller, your DIY setup keeps the right temperature for longer periods.
So every time you plunge in, it feels just as cold as it should!
How to Make Your Own DIY Ice Bath
Choosing a suitable container for your DIY ice bath is crucial in order to ensure the right size and insulation. Sanitization and winterization of the container are also important steps to keep it clean and usable year-round.
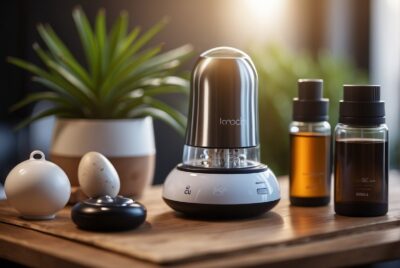
Optional improvements, such as adding essential oils or installing a temperature gauge, can enhance your DIY ice bath experience.
Choosing a suitable container
To make your own DIY ice bath, you’ll need a suitable container. Here’s how to choose the right one:
- Consider an inflatable pool: They are affordable, come in various sizes, and can fit different spaces at home.
- Look for a sturdy tub or large plastic containers: These are durable options that can hold enough water for a cold plunge.
- Check for insulation: Ensure the container has some insulation to help maintain the water temperature during your DIY ice bath.
- Evaluate portability: If you plan to move the container around, consider options that are easy to relocate.
- Ensure it’s easy to clean: Opt for a container that is easy to sanitize and winterize when not in use.
Insulation and maintenance
Insulating your DIY ice bath is crucial to maintain the cold temperature for an extended period and ensure a comfortable experience. Here’s how to effectively insulate and maintain your at-home cold plunge:
- Use insulating materials such as foam boards or bubble wrap to cover the sides and bottom of the container.
- Seal any gaps or openings in the insulation to prevent heat from entering and melting the ice.
- Regularly check the insulation for wear and tear, repairing or replacing it as needed to sustain optimal coldness.
- Keep the ice bath covered when not in use to minimize heat transfer and preserve the temperature.
- Clean the container regularly to prevent bacterial growth, ensuring a hygienic environment for your cold plunging sessions.
- Monitor the water level and add more ice as needed to maintain the desired temperature throughout your session.
- Consider using a water chiller to regulate the temperature over a longer period, enhancing the convenience of at-home cold plunging experiences.
Sanitization and winterization
After ensuring proper insulation and maintenance, it’s important to focus on sanitization and winterization for your DIY ice bath. Here’s how you can maintain cleanliness and keep your cold plunge functional during the colder months:
- Regularly clean the container: Use a non-toxic cleaner to scrub the tub or pool, rinse thoroughly, and ensure it’s completely dry before refilling.
- Add chlorine or hydrogen peroxide: These can help keep the water clean and free from bacteria. Follow recommended guidelines for safe usage.
- Protect against freezing: If temperatures drop below freezing, consider adding an insulating cover or moving the ice bath indoors to prevent damage.
- Drain and store properly: When not in use, ensure all water is drained from the container to avoid freezing, cracking, or damage.
- Consider an insulated enclosure: Building a simple structure around the ice bath can help retain heat and protect it from harsh weather conditions.
- Monitor temperature closely: Use a thermometer to track water temperature regularly and make adjustments as needed to prevent freezing or maintain optimal cold plunging conditions.
- Winterize surrounding area: Shield the ice bath from wind and drafts using barriers or outdoor screens to maintain a comfortable environment for cold plunging during winter months.
Optional improvements and next steps
For health and wellness enthusiasts looking to enhance their DIY ice bath experience, here are some optional improvements and next steps. Consider these to take your at-home cold plunge to the next level.
- Use Epsom salts in your ice bath to provide additional muscle relaxation and reduce inflammation after intense workouts. Epsom salts can be easily dissolved in the water before adding the ice.
- Experiment with adding aromatherapy oils like eucalyptus or peppermint to your ice bath for a more invigorating and refreshing experience. These oils can enhance the sensory aspect of your cold plunge.
- Consider incorporating breathing exercises, such as those from the Wim Hof Method, into your ice bath routine. Controlled breathing can help optimize the benefits of cold plunging for overall well-being and mental focus.
- Invest in a reliable thermometer to monitor the temperature of your DIY ice bath accurately. This will ensure that you consistently achieve the desired temperature range between 50°F-60°F for an effective cold plunge session.
- Explore wearing neoprene gloves or booties during your ice bath to protect extremities from excessive cold exposure while still allowing for a full-body immersion experience.
Conclusion
In conclusion, DIY ice baths offer an affordable and accessible way to experience the benefits of cold plunging at home. Building your own cold plunge can be cost-effective and tailored to fit different spaces.
With the right container, insulation, and maintenance, anyone can enjoy the rejuvenating effects of an ice bath without breaking the bank. So go ahead, take the plunge into DIY ice baths and embrace a new level of wellness in the comfort of your own home!
FAQs
1. What is a DIY ice bath?
A DIY ice bath is an at-home version of cold therapy where you use ice and water to make a chilly pool that can help with athletic recovery and health.
2. Can taking an ice bath at home be good for me?
Yes, having an ice bath at home can reduce muscle soreness, improve your blood flow, lower swelling in your body, and calm stress.
3. How do I make my own cold plunge safely?
To set up a safe homemade ice bath, fill a tub with cold water and add enough ice to reach the right cool temperature without making it too icy.
4. Are there cheap ways to try out an icy soak in my house?
You can create affordable ice baths by using supplies from around your house or buy low-cost items that let you soak in cold water for wellness without spending much money.